> ## Documentation Index
> Fetch the complete documentation index at: https://chatbase.co/docs/llms.txt
> Use this file to discover all available pages before exploring further.
# Transfer to phone number
> Transfer a live voice call from your AI Agent to a human by forwarding the caller to a phone number
## Overview
The **Transfer to phone number** action lets your AI Agent hand off a live phone call to a human. When the action is triggered, Chatbase plays a configurable hand-off message to the caller and transfers the call to the phone number you've configured.
Getting a caller to the right person on the phone (sales, billing, or support) when the AI Agent can't resolve the call itself.
**Common Use Cases:**
* "Can I speak to a real person?"
* "Put me through to billing"
* "I need to talk to someone about my account"
This action is only supported on the **Phone** channel.
 ## How it works
The AI Agent determines that a human should handle the conversation, based on the instructions you've provided in the **When to use** field.
Chatbase automatically plays your configured **Message to caller** before initiating the transfer.
The live call is forwarded to the configured phone number.
Once the transfer begins, the AI Agent leaves the call and cannot resume the conversation.
## How to create the action
Go to your [Chatbase dashboard](https://www.chatbase.co/dashboard/) and select your AI agent. Click **Build > Actions** in the left sidebar.
Click **Create action**, then select **Transfer to phone number**.
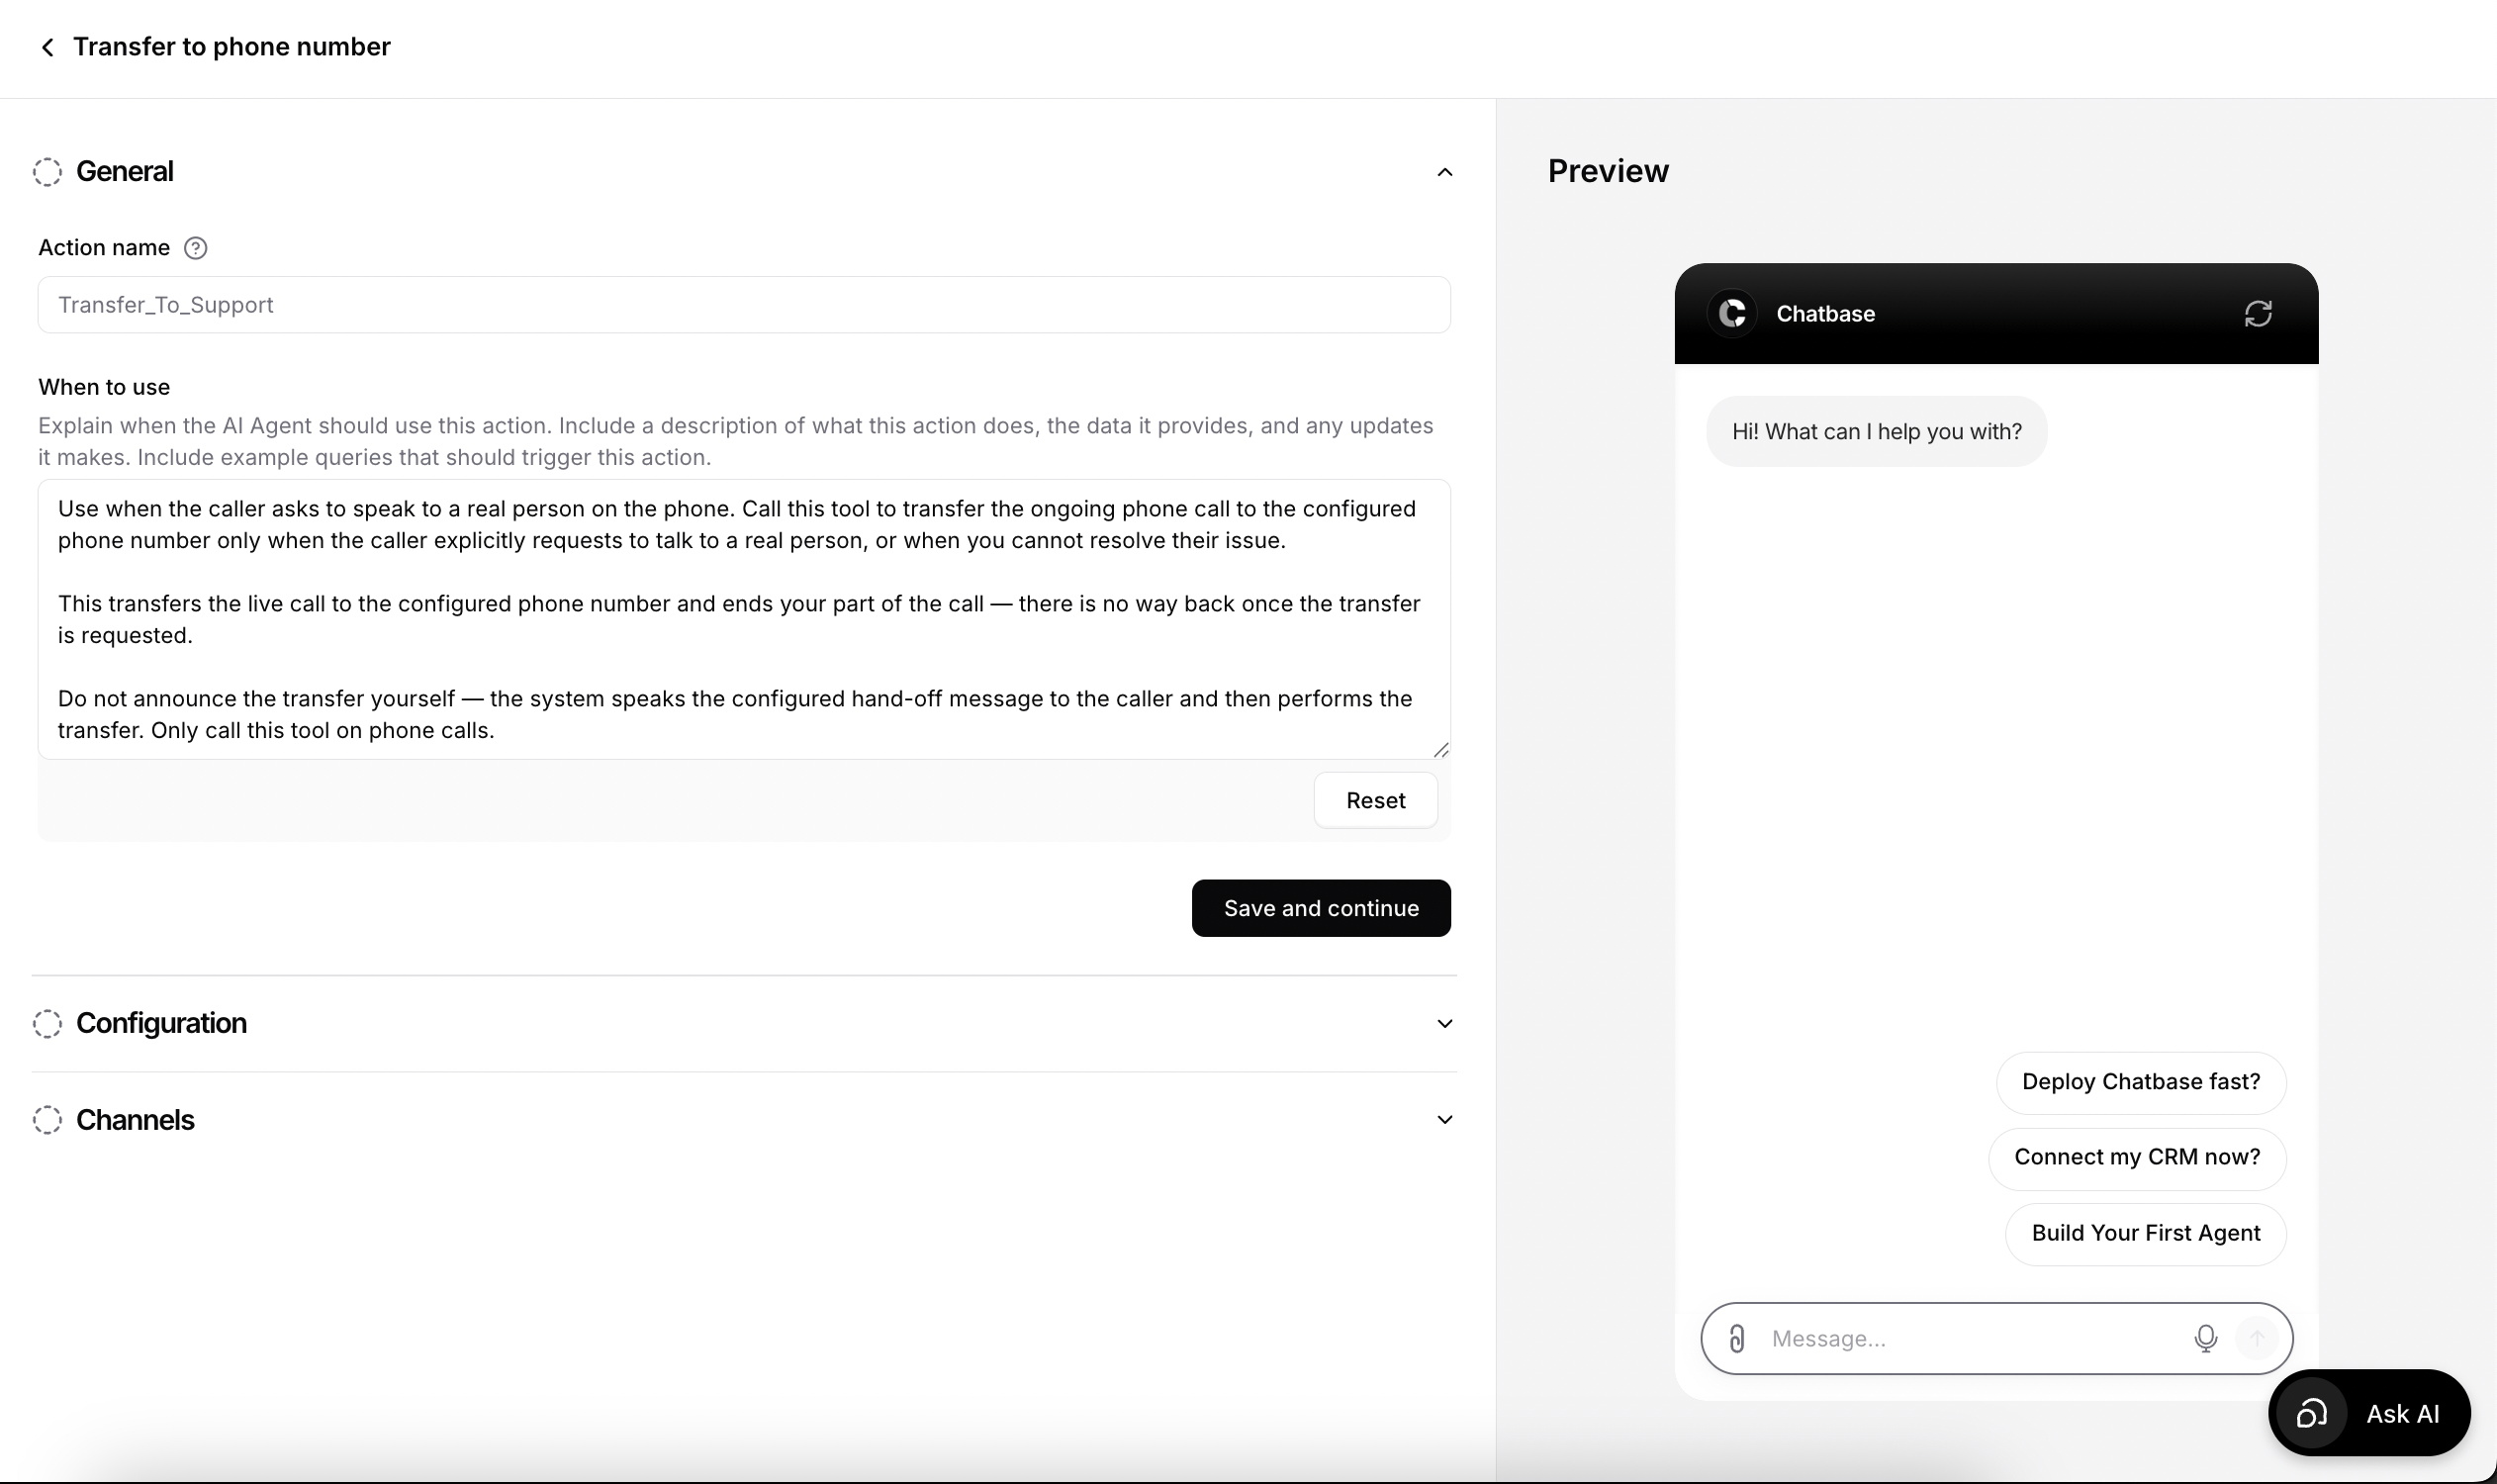
**Action Name:** A descriptive name for the action, such as `Transfer_To_Support`. If you have multiple departments, create multiple transfer actions: `Transfer_To_Sales`, `Transfer_To_Support`, `Transfer_To_Billing`.
**When to use:** Describe exactly when the AI should perform the transfer. See [Examples](#examples) below.
To restrict the action to [procedure](/docs/user-guides/chatbot/procedures/procedures-overview) steps only, turn on [**Only use in procedures**](/docs/user-guides/chatbot/actions/actions-overview#only-use-in-procedures). When it's on, the **When to use** field is hidden, because the AI agent no longer decides when to call the action.
Set the destination number and the messages the caller hears. See [Settings](#settings) below.
This action supports the **Phone** channel. Click **Setup** next to **Phone** to configure the required phone integration.
If the Phone channel hasn't been configured, this action cannot be used.
Click **Save & enable**, then place a test call.
## Settings
**Phone number:** The number that should receive transferred calls. It must use **E.164 format**, for example `+12125551234`.
Only the following are supported:
* **Twilio phone numbers**
* **SIP trunks**
If you're using a SIP trunk, make sure both **SIP REFER** and **PSTN** are enabled on the trunk before using this action. Otherwise, call transfers will not work.
**Message to caller:** The message played to the caller immediately before the transfer begins.
**Message if the transfer fails:** The message the AI Agent says if the transfer cannot be completed. After this message, the AI Agent continues the conversation.
If the transfer fails, the AI Agent says this message and continues assisting the caller. If this field is left empty, the default failure message is used.
Test the action by placing a call and asking to speak to a person. The caller should hear your hand-off message, and the call should arrive at the configured number.
## Examples
A **When to use** description that defines the trigger and tells the AI agent not to narrate the transfer itself:
```text theme={null}
Use when the caller asks to speak to a real person on the phone.
Call this tool to transfer the ongoing phone call to the configured phone number
only when the caller explicitly requests to talk to a real person, or when you
cannot resolve their issue.
This transfers the live call to the configured phone number and ends your part
of the call.
Do not announce the transfer yourself. The system speaks the configured hand-off
message to the caller and then performs the transfer.
Only call this tool on phone calls.
```
Be as specific as possible. Good instructions help your AI determine exactly when a transfer should occur.
## Limitations
* **Once a transfer begins, the AI Agent cannot resume the conversation.**
* **Only Twilio numbers and SIP trunks are supported** as transfer destinations.
* **SIP trunks need SIP REFER and PSTN enabled,** or transfers fail.
## Best Practices
Clearly define when the AI should transfer the caller instead of trying to solve the issue itself.
If you have multiple transfer actions, give each one a meaningful name like **Transfer\_To\_Sales** or **Transfer\_To\_Billing**.
Keep the message short so callers know they're being connected.
Always provide a friendly fallback message in case the transfer cannot be completed.
## How it works
The AI Agent determines that a human should handle the conversation, based on the instructions you've provided in the **When to use** field.
Chatbase automatically plays your configured **Message to caller** before initiating the transfer.
The live call is forwarded to the configured phone number.
Once the transfer begins, the AI Agent leaves the call and cannot resume the conversation.
## How to create the action
Go to your [Chatbase dashboard](https://www.chatbase.co/dashboard/) and select your AI agent. Click **Build > Actions** in the left sidebar.
Click **Create action**, then select **Transfer to phone number**.
**Action Name:** A descriptive name for the action, such as `Transfer_To_Support`. If you have multiple departments, create multiple transfer actions: `Transfer_To_Sales`, `Transfer_To_Support`, `Transfer_To_Billing`.
**When to use:** Describe exactly when the AI should perform the transfer. See [Examples](#examples) below.
To restrict the action to [procedure](/docs/user-guides/chatbot/procedures/procedures-overview) steps only, turn on [**Only use in procedures**](/docs/user-guides/chatbot/actions/actions-overview#only-use-in-procedures). When it's on, the **When to use** field is hidden, because the AI agent no longer decides when to call the action.
Set the destination number and the messages the caller hears. See [Settings](#settings) below.
This action supports the **Phone** channel. Click **Setup** next to **Phone** to configure the required phone integration.
If the Phone channel hasn't been configured, this action cannot be used.
Click **Save & enable**, then place a test call.
## Settings
**Phone number:** The number that should receive transferred calls. It must use **E.164 format**, for example `+12125551234`.
Only the following are supported:
* **Twilio phone numbers**
* **SIP trunks**
If you're using a SIP trunk, make sure both **SIP REFER** and **PSTN** are enabled on the trunk before using this action. Otherwise, call transfers will not work.
**Message to caller:** The message played to the caller immediately before the transfer begins.
**Message if the transfer fails:** The message the AI Agent says if the transfer cannot be completed. After this message, the AI Agent continues the conversation.
If the transfer fails, the AI Agent says this message and continues assisting the caller. If this field is left empty, the default failure message is used.
Test the action by placing a call and asking to speak to a person. The caller should hear your hand-off message, and the call should arrive at the configured number.
## Examples
A **When to use** description that defines the trigger and tells the AI agent not to narrate the transfer itself:
```text theme={null}
Use when the caller asks to speak to a real person on the phone.
Call this tool to transfer the ongoing phone call to the configured phone number
only when the caller explicitly requests to talk to a real person, or when you
cannot resolve their issue.
This transfers the live call to the configured phone number and ends your part
of the call.
Do not announce the transfer yourself. The system speaks the configured hand-off
message to the caller and then performs the transfer.
Only call this tool on phone calls.
```
Be as specific as possible. Good instructions help your AI determine exactly when a transfer should occur.
## Limitations
* **Once a transfer begins, the AI Agent cannot resume the conversation.**
* **Only Twilio numbers and SIP trunks are supported** as transfer destinations.
* **SIP trunks need SIP REFER and PSTN enabled,** or transfers fail.
## Best Practices
Clearly define when the AI should transfer the caller instead of trying to solve the issue itself.
If you have multiple transfer actions, give each one a meaningful name like **Transfer\_To\_Sales** or **Transfer\_To\_Billing**.
Keep the message short so callers know they're being connected.
Always provide a friendly fallback message in case the transfer cannot be completed.